Gnome Cookies
To learn the royal icing knitting technique, watch my free tutorial.
Or you can jump to the Jolly Gnome video demo.
Gnome cookies pop up everywhere around Christmas time, and I always itched to make another 3D gingerbread figurine like Mr. Badger, albeit without spending too much time on them. A cone-shaped gnome cookie would fit the bill.

It turned out that videotaping the knitting of a 3D cookie was harder than I thought, though. My knowledge in this area is limited, and with only one cam, taping from different angles would be too time-consuming.
So, I threw that idea out and opted for a simpler 2D version that I could tape from above, as I did with my other videos.
But I still want to show you how to do a 3D gnome cookie. And I think I got an idea of how to tape it from above, being able to turn it without laying down the work and risk damaging already piped parts.
Click on any of the linked gnome names below to see an enlarged version of them.
As you can see from the video above, Jolly Gnome was not made as a transfer but decorated directly onto a cookie. The reason for this is that I wanted people to see that this is an actual gnome cookie.
Many
a person has told me that my knitted cookies look real or made of some
other material. Of course, this is a compliment per se, but not so cool
when cookie people don't even glance at them because they think they're
made of something else.
Pastillage for the Hairy Parts
Of a Gnome Cookie
How to do the knitting was clear, but how to do the face and hairy parts of a gnome cookie was not yet. I started to play around. Now, I hate wasting yummy gingerbread cookies by topping them with sugar that nobody around here would eat.
Newly acquired experience with pastillage from my Isomalt Andon Lamp project gave me the idea to pipe the design onto a pastillage shape instead. Let me tell you, if you love to decorate cookies just for art and not eating, this is a terrific way to go!

But
even if you'd like to gift a decorated cookie, you can just glue the
decorated pastillage transfer to the cookie with a couple of strategic
royal icing dots. The recipient can then easily remove and save it if
they chose to do so.
Pastillage dries much quicker than royal icing and can be over piped within minutes. It also dries much harder. Use rose water instead of plain water, and its fragrance makes working with this medium even more pleasurable.
But anyway, I tried royal icing hair, but didn't like it too much. It then occurred to me that I could be using pastillage instead, much like fondant. But unlike fondant which stays softer for a much longer time, this one posed a few challenges. I'll tell you how I solved that problem on a pastillage page some other day.
So Lil Grumpy here is the first gnome cookie I made mainly to see how the pastillage hair would look like. What do you think?

More
2D Gnome Cookies
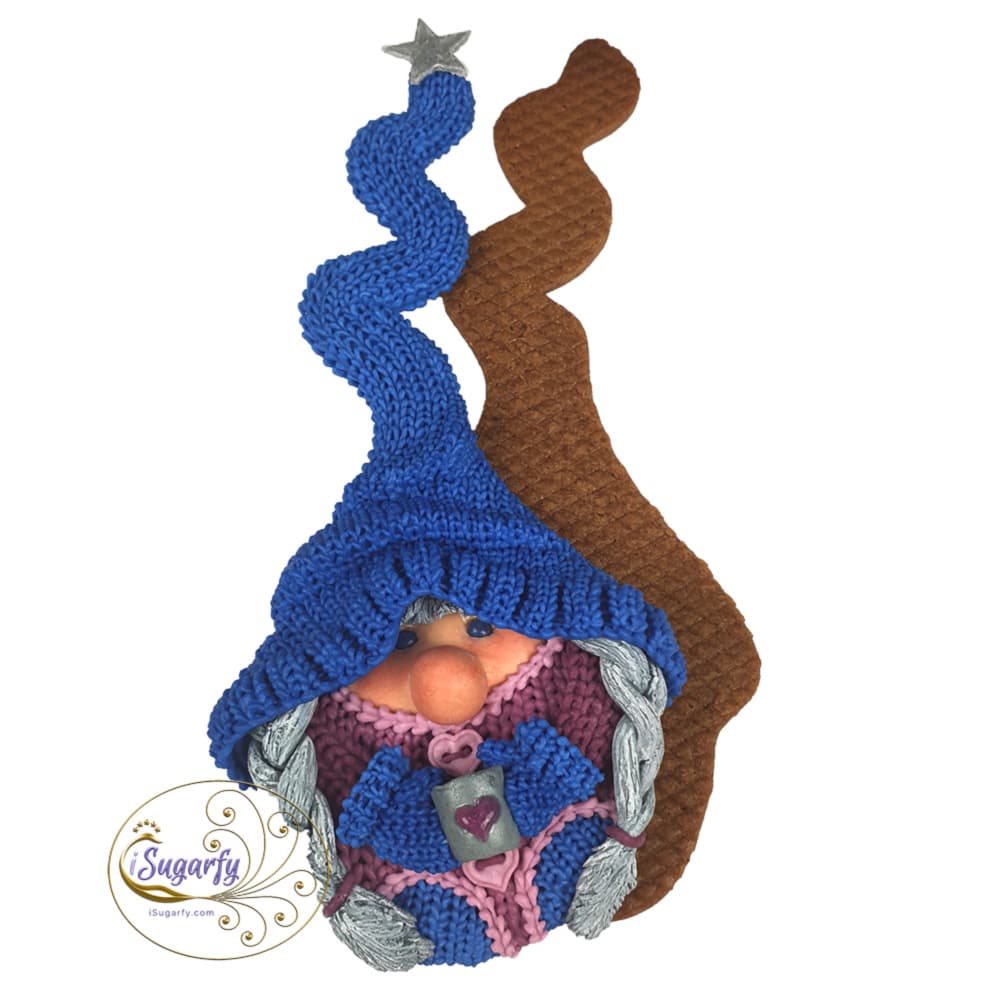
Of course, I couldn't go without also trying my hands on a little gnome girl cookie. Lil Lava Java here got her nickname from her favorite brand of coffee. If you were able to see into her mug, you'd know that she likes to drink it black (the cup is filled with dark brown isomalt, so it looks quite like the real deal :-) ).
She's relatively small and her body not even fills the palm of my hand. Oh, and you might notice that the little beauty has bright blue eyes.
I'll be adding a short "show & tell" video of this gnome cookie later.

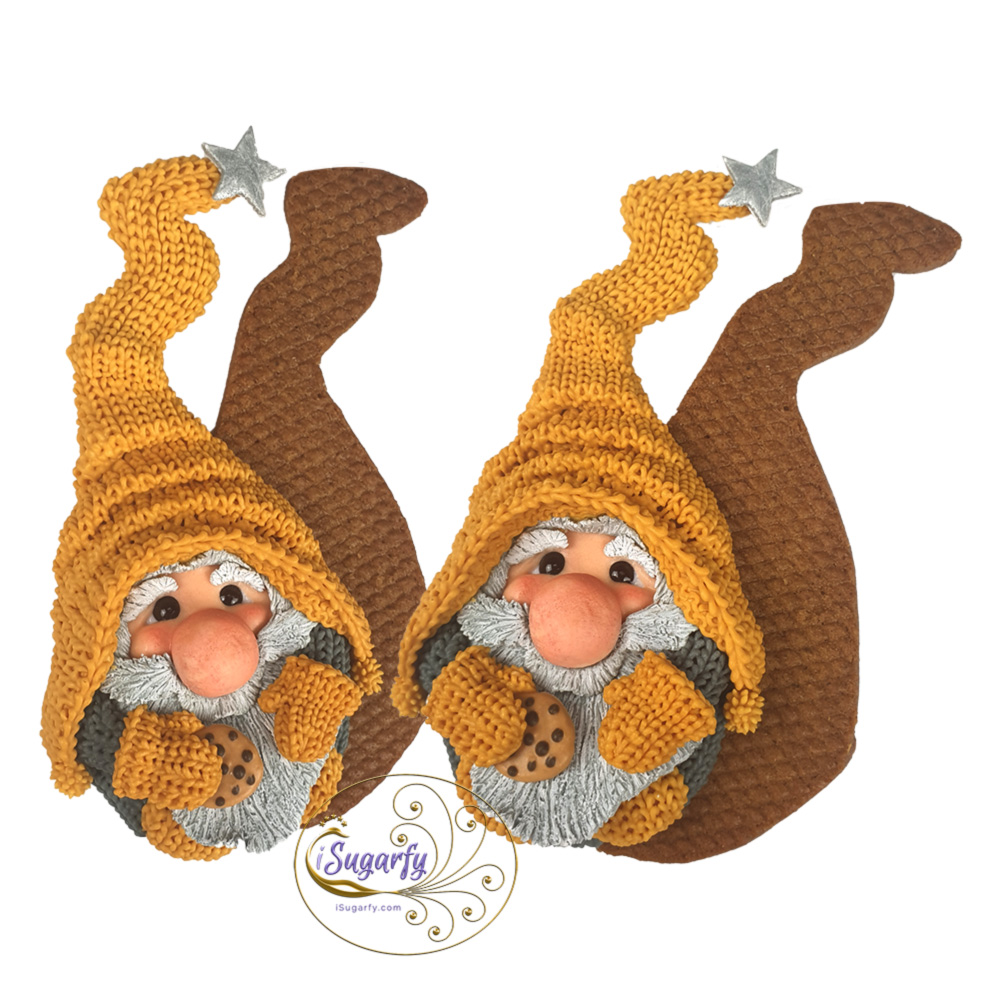
I think you can guess where Lil Choc Chip here got his nickname from :-). And now you also know why Lil Grumpy is called like that: Because he didn't get a coffee, and especially no cookie!
Gnome cookies are so much fun to make. With each one I had no idea how they would turn out in the end! I think I'm addicted, LOL!

3D
Gnome Cookies
I've got a couple to show you, but maybe tomorrow...
Want to keep me motivated to share sugar art tutorials and demos with you?
Yes?


Translate this page into your language:
Traduce esta página a tu idioma:

Don't worry — your email address is secure with me. I promise to use it only to send you my iSugarfy News.
