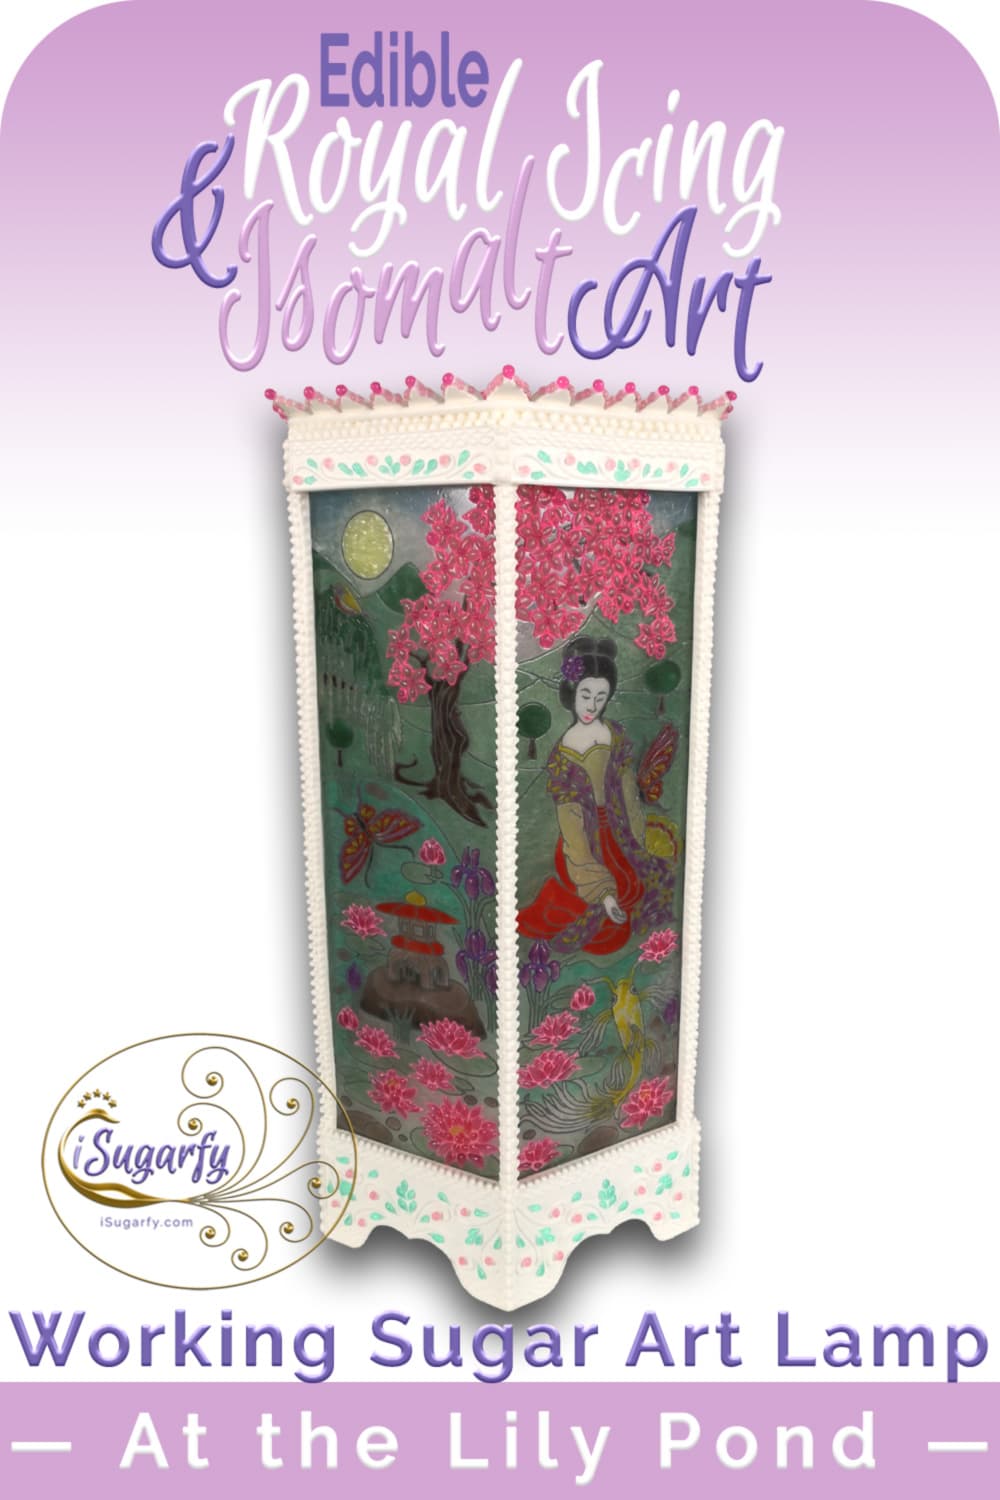
— At the Lily Pond —
A Working Isomalt Andon Lamp
I made this isomalt andon lamp for the fantastic collaboration Japan - Land of the Rising Sun. Check out the exquisite works of all the other artists.

This lamp took me several weeks from design to the collaboration deadline on October 10, 2020, and I wasn't even able to finish it, as the weather didn't play nice at all. It is tough to do delicate isomalt work when air humidity is high, and we had days when it hit 100%! Before my next such work, I will invest in a room dehumidifier for sure!
Instead of adding a Japanese roof as planned, I just whipped up a fast pastillage plate to cover the lamp's interior. But I still plan on completing the top that I had in mind for it.
Progress Photos
Of the Isomalt Andon Lamp
As with most of my other work, I designed this isomalt andon lamp using Inkscape, a vector program. The piece has a hexagonal base and thus contains six panels. A panel measures 9x19 cm, the diameter is 18 cm.

It took me about 1.5-2 hours to pipe a panel. I wanted the flowers to pop out and used their respective colors for this. The rest I did in dark grey royal icing.

The filling of the royal icing outlines with isomalt took much longer. I used to start with the darker colors in case I would misplace a drop, but fortunately, this almost never happens anymore. Practice does help :-).
Coloring isomalt takes much less food coloring (I use Wilton gel colors without any problems). It's much more challenging to get the desired colors for smaller batches because of that.


All filled in with isomalt. But the panels in this state would not be sturdy enough to be handled without isomalt holding together the royal icing lines securely, not for what I had in mind for them anyway.

My Tiffany-style table lamp has taught me always to reinforce the back when a piece has to be handled a few times, which would surely be the case with this lamp.
And since I don't have a large enough glass plate, I would have to do the extensions on top and bottom, with which the panels would be fused to the isomalt-pastillage frame, in the same step as the reinforcement.
For this, I made an adjustable frame should I mess up the extensions lengthwise.

After extending and reinforcing the panels, they are turned around to show the underside that is now the right side up.
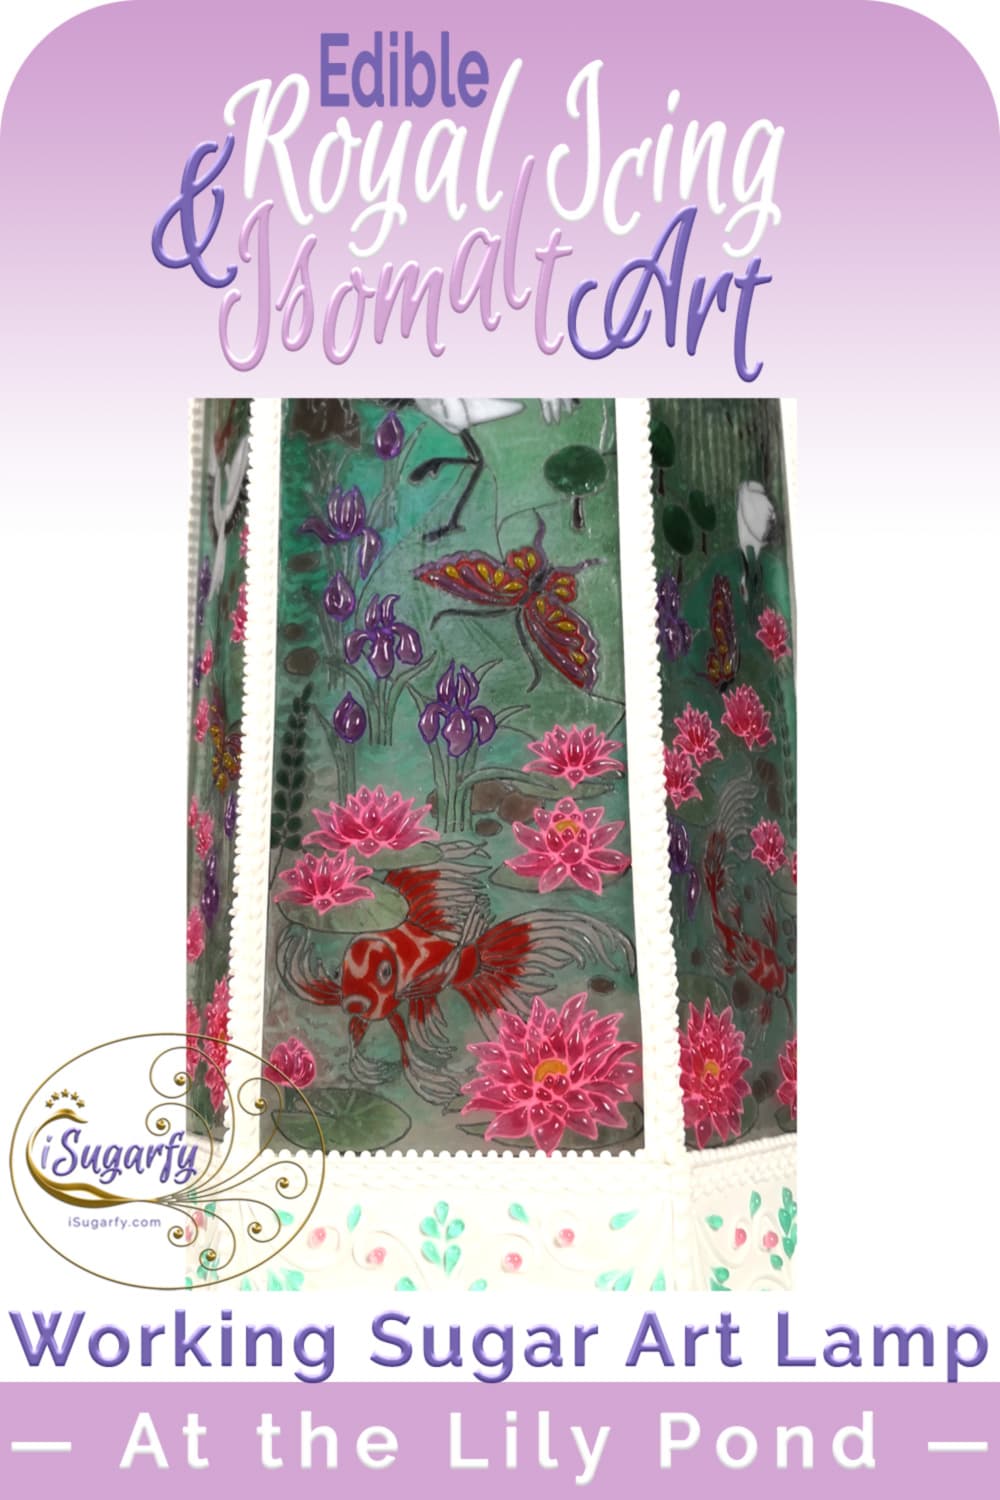
I could have left them alone like this, but I quite like the look of added dimensions. This I do by adding clear isomalt to the elements I want to pop out. But if a color has turned out too light, I add more of that color to deepen it.

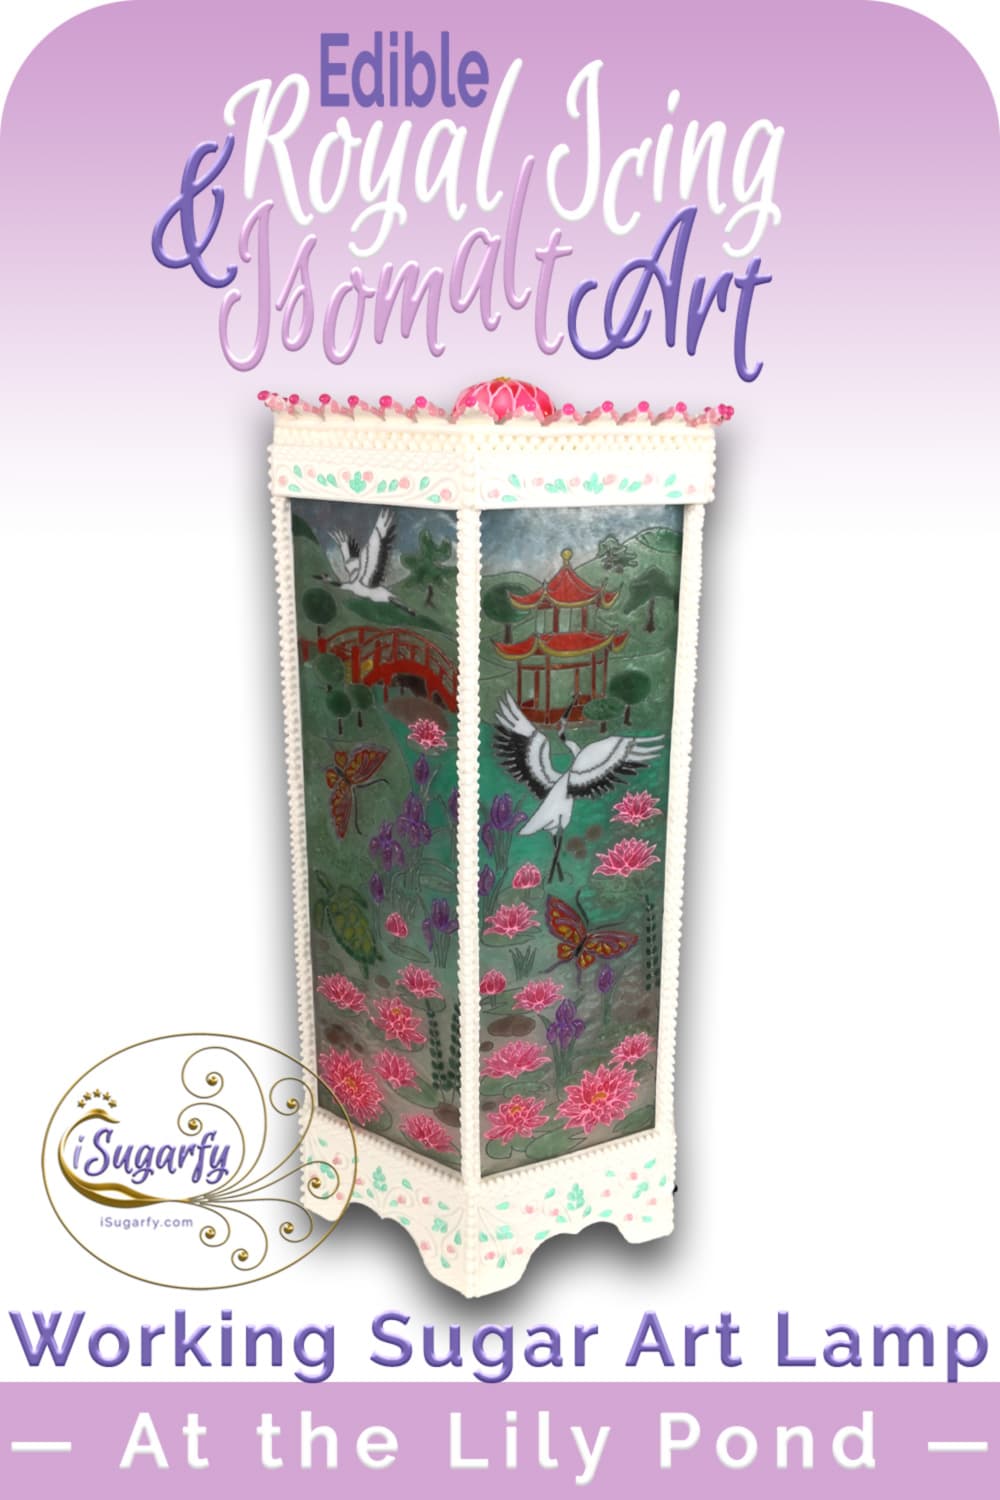
The whole lily pond scene:

The big moment: attaching the panels to the isomalt-pastillage light core/frame. The multi-color LED strip can be turned off and on via remote control.
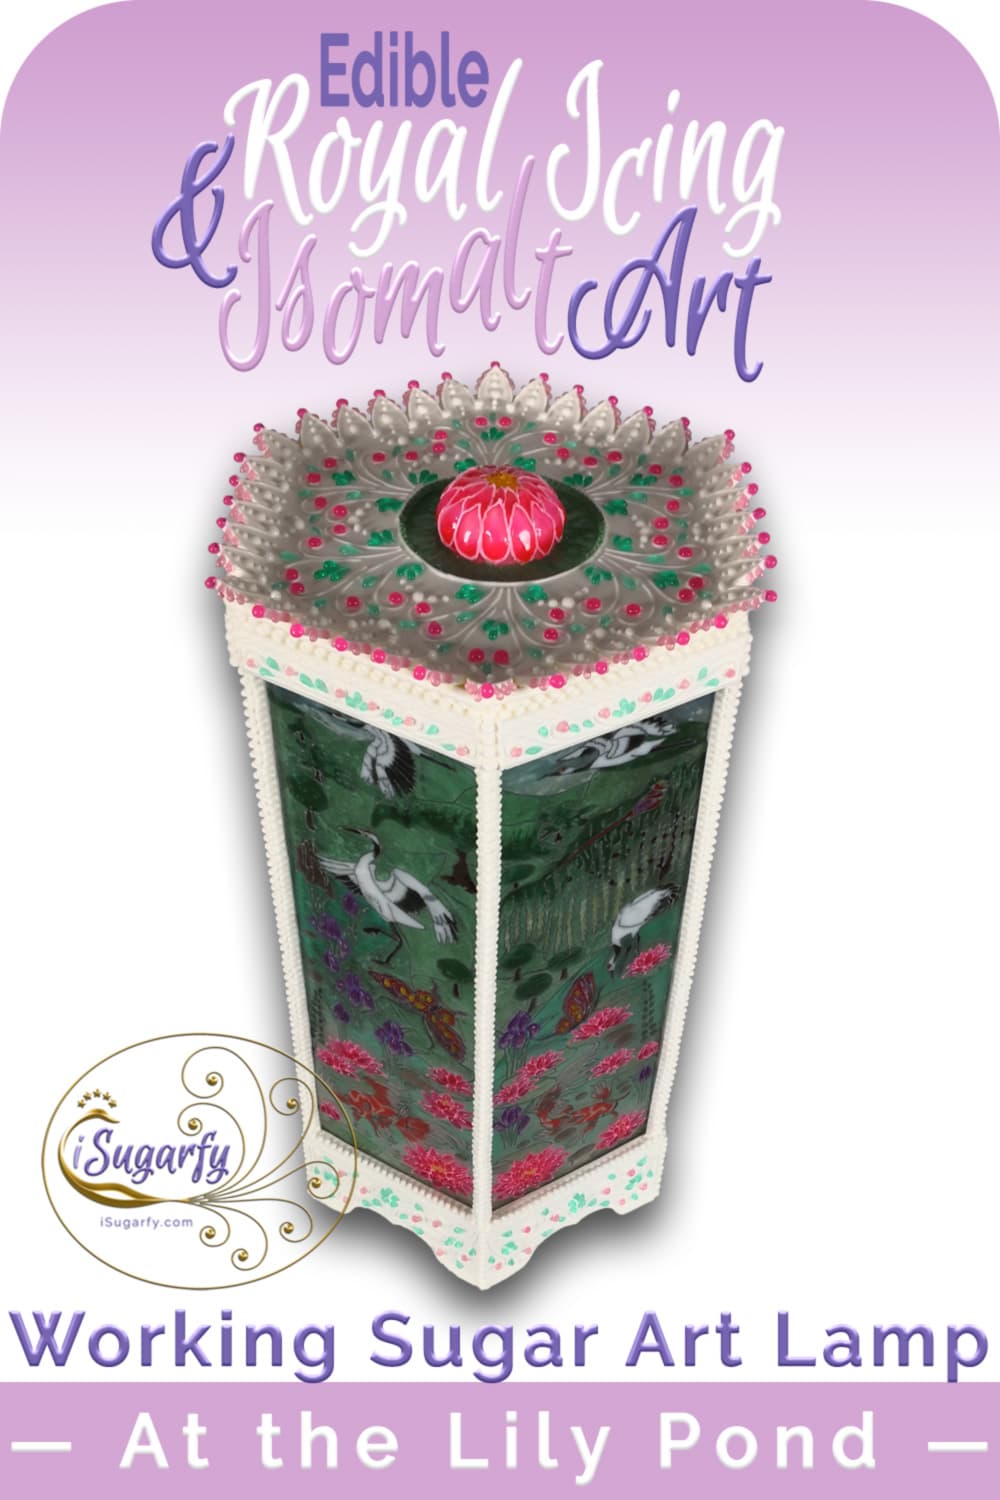
That transparent plate with holes on the top is made of isomalt. If ever the light should die on me, I will sever those little "bridges" to the outer pastillage frame. For now, I needed them to attach the panels precisely and securely, as, without them, there would have been nothing sturdy to lean them against on top.

The trims are made of pastillage and decorated with royal icing and isomalt.

Here the lamp is all trimmed out and you can see the would-be roof that I couldn't finish in time.

I made a quick pastillage plate to cover the lamp's interior instead and turned the knob, on which the core with the LED strip can be pulled out, into a closed water lily.

Photos of the
For Now
Finished Isomalt Andon Lamp

Here's one more picture with the lit lamp and a different tint. My baby girl was totally fascinated by the changing colors, LOL!

Want to keep me motivated to share sugar art tutorials and demos with you?
Yes?


Translate this page into your language:
Traduce esta página a tu idioma:

Don't worry — your email address is secure with me. I promise to use it only to send you my iSugarfy News.
