The Making of an
Edible and Working
Tiffany-Style
Table Lamp
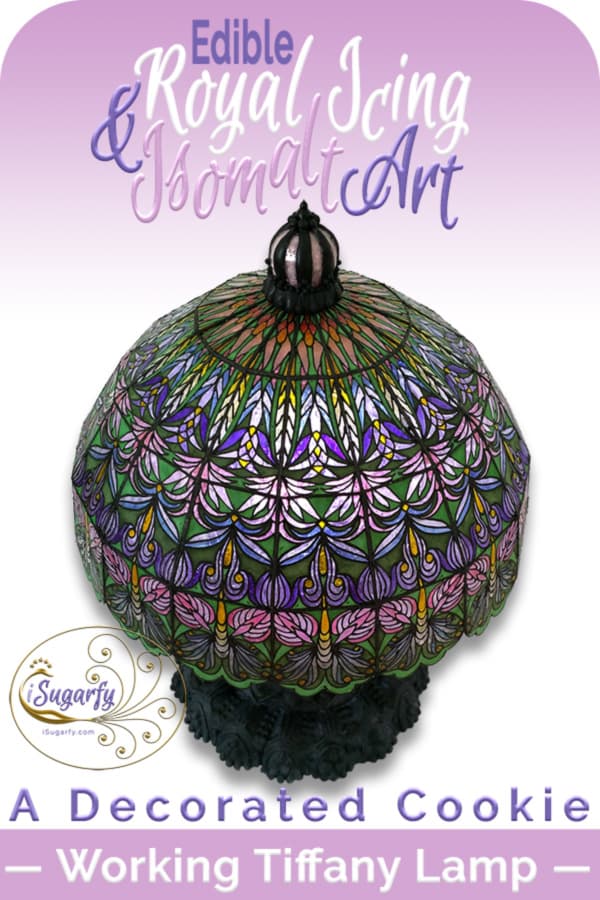
Here she is, a working sugar lamp... the one I'm proudest of all my work, well at least of the shade. I made her for the Practice Bakes Perfect Challenge #30 (Crystal Clear challenge) on Julia M. Usher's Cookie Connection. But I ran out of time and had to do the cookie base in a hurry.
Sometime I might create fierce competition for her (my isomalt knowledge and techniques are evolving). Now if only there were (many!) more hours in a day, LOL! But we're still allowed to dream, right :)?
Anyhow... The shade diameter is 20cm or 8 inches and is made of 64 separate trapezoid tiles (4 “rings” à 16 tiles each), two lampshade supports, and a hollow cookie base through which I pulled a short string of LED lights wound around a twisted copper wire.
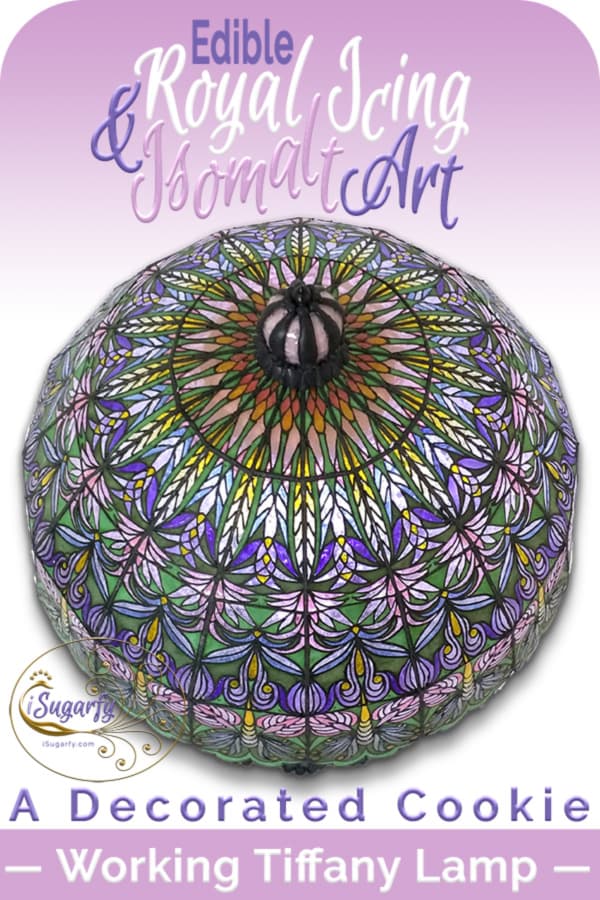
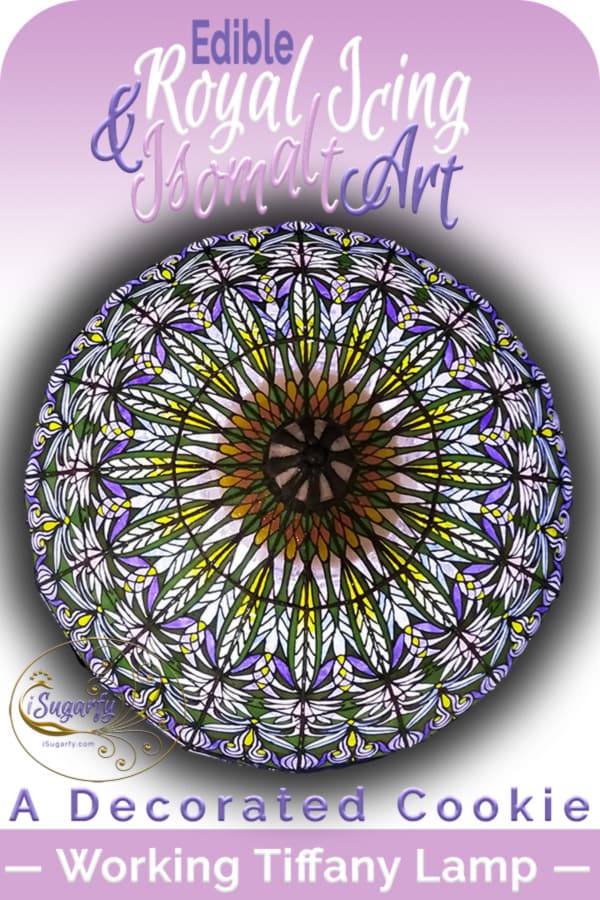
Here a few more pics of the finished lamp (you can click on any image to enter the gallery mode and get a close-up look :) :
— How the Lamp Was Built —
Some Progress Photos & Notes
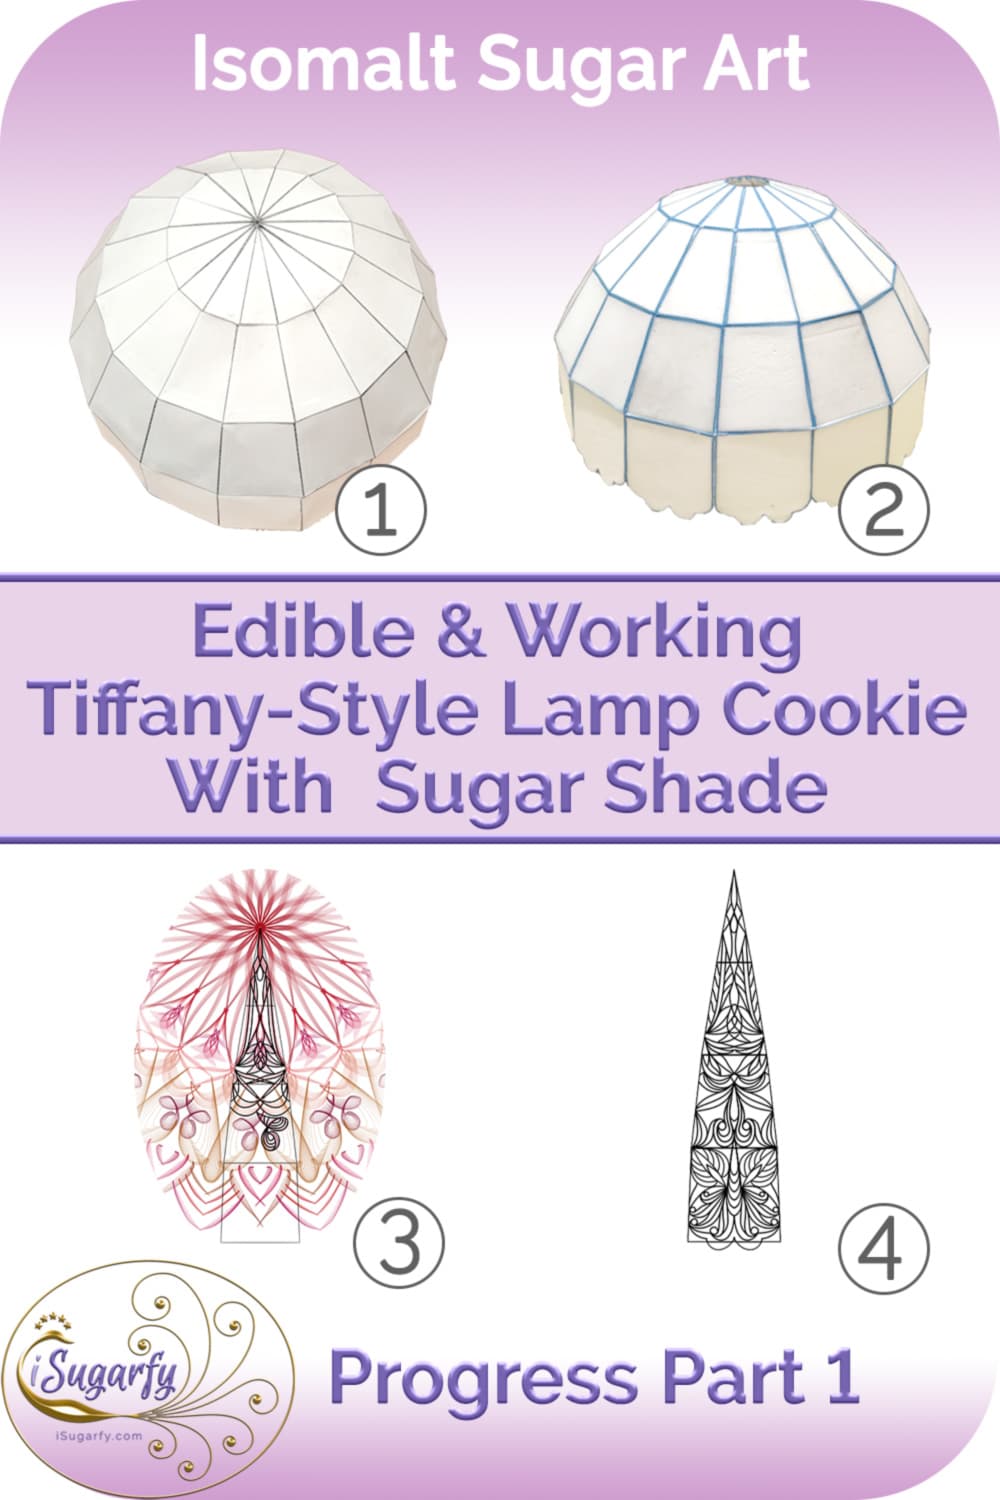
- First I made a mock-up with paper to assure myself that the math used was correct.
- Then came a mock-up with royal icing. Before I would spend all that time with the isomalt work - which was going to be significant -, I had to be sure that the thickness of the tiles would not throw me a curveball in an unforeseen way.
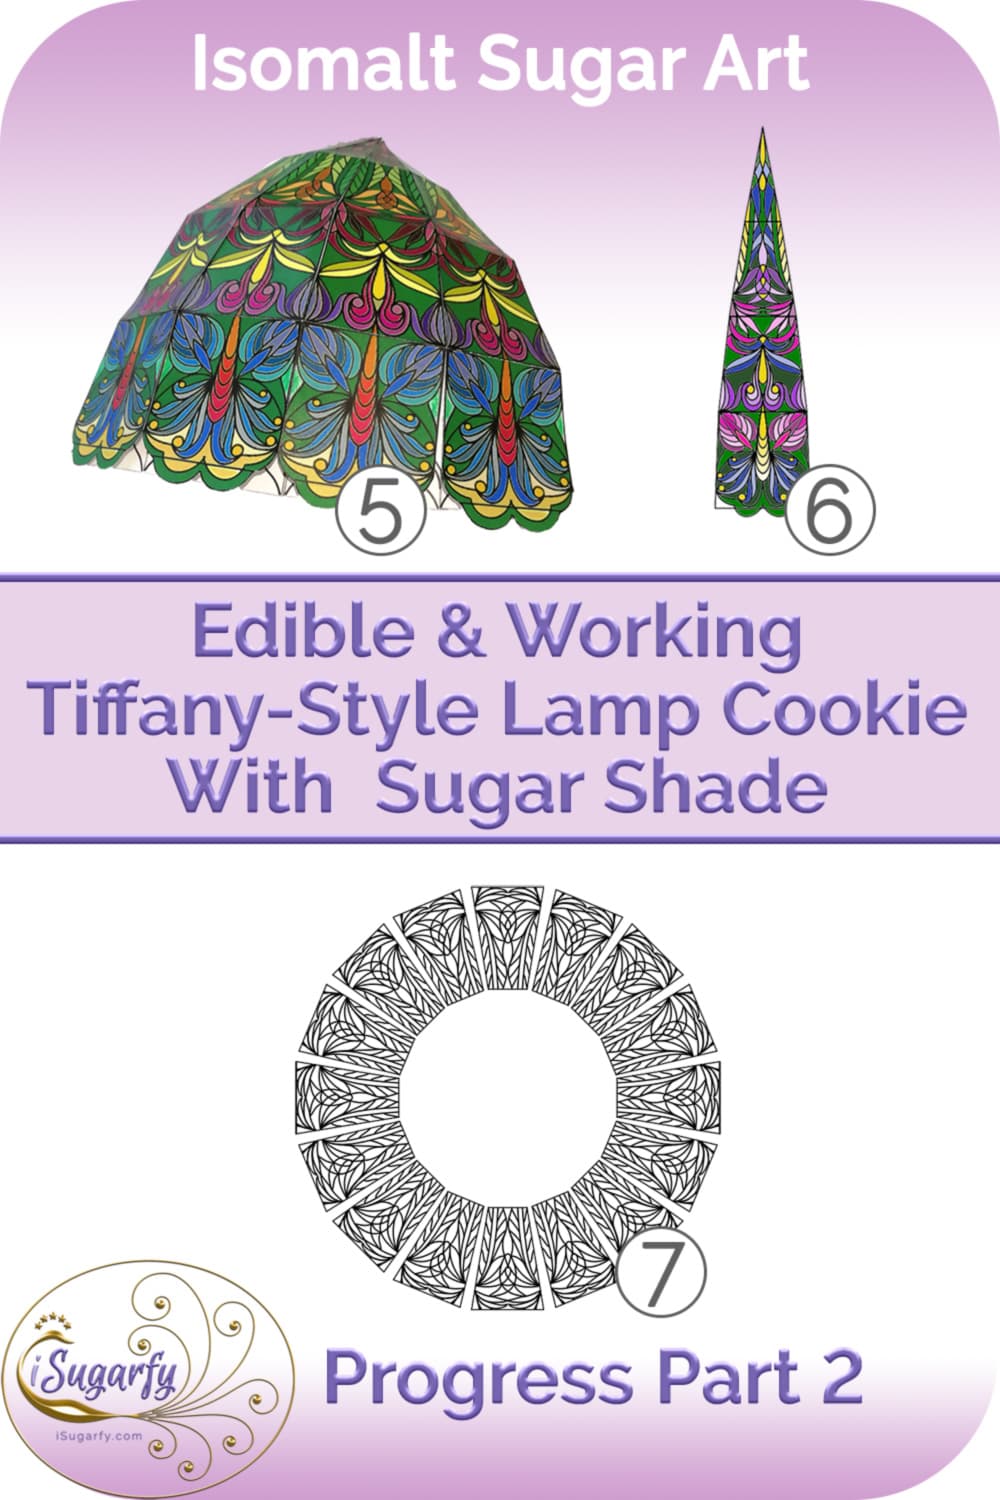
- The design, as you might have guessed, if you've seen and read my Mirrograph Mandala page, was done with the Mirrograph 2 app and then rendered with Inkscape, a free vector program.
- A "slice" of the finished lamp shade design.
- Well, I had to see how the lamp design would come together on the seams and how it would look with colors.
- The color combo wasn't to my liking so I changed it.
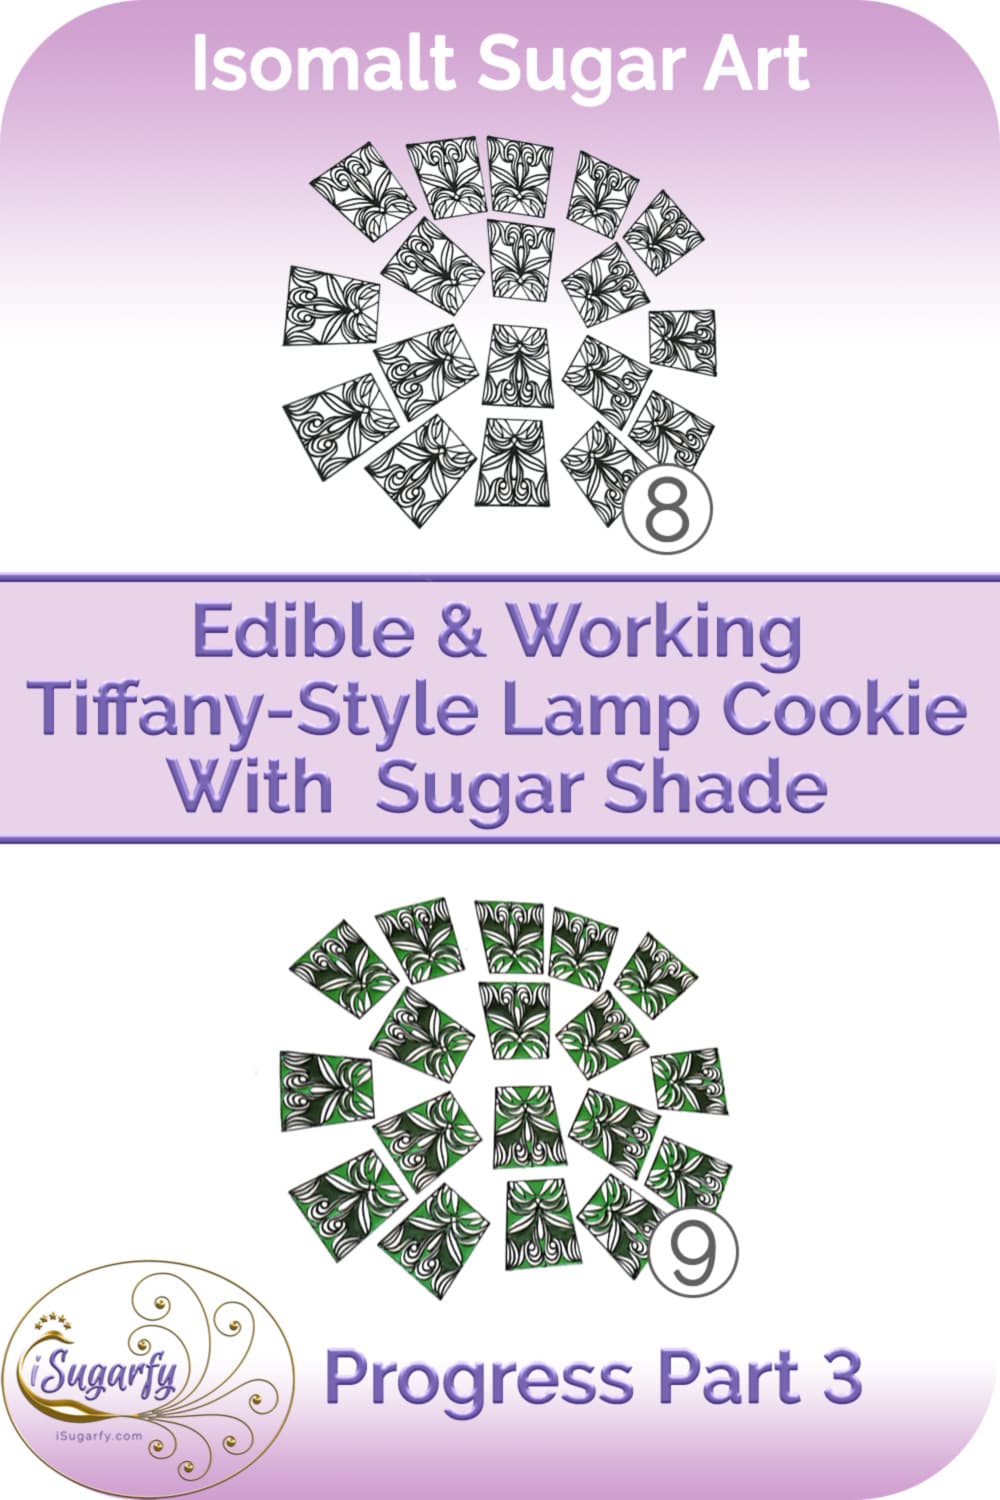
- To make all of the tiles of one size exactly the same, and for general precision of course, I had to make templates for "tracing" them with royal icing.
- The tiles here have been piped with royal icing. I use parchment paper cones, and the opening I cut is probably about equal to a 0 PME tip.
- Here parts of the same tiles have been filled in with two shades of green royal icing.
- Since the royal icing was piped this thin, the heat of the isomalt would surely have made some of the lines buckle. That's why I reinforced them with flood to bead consistency icing on the back.
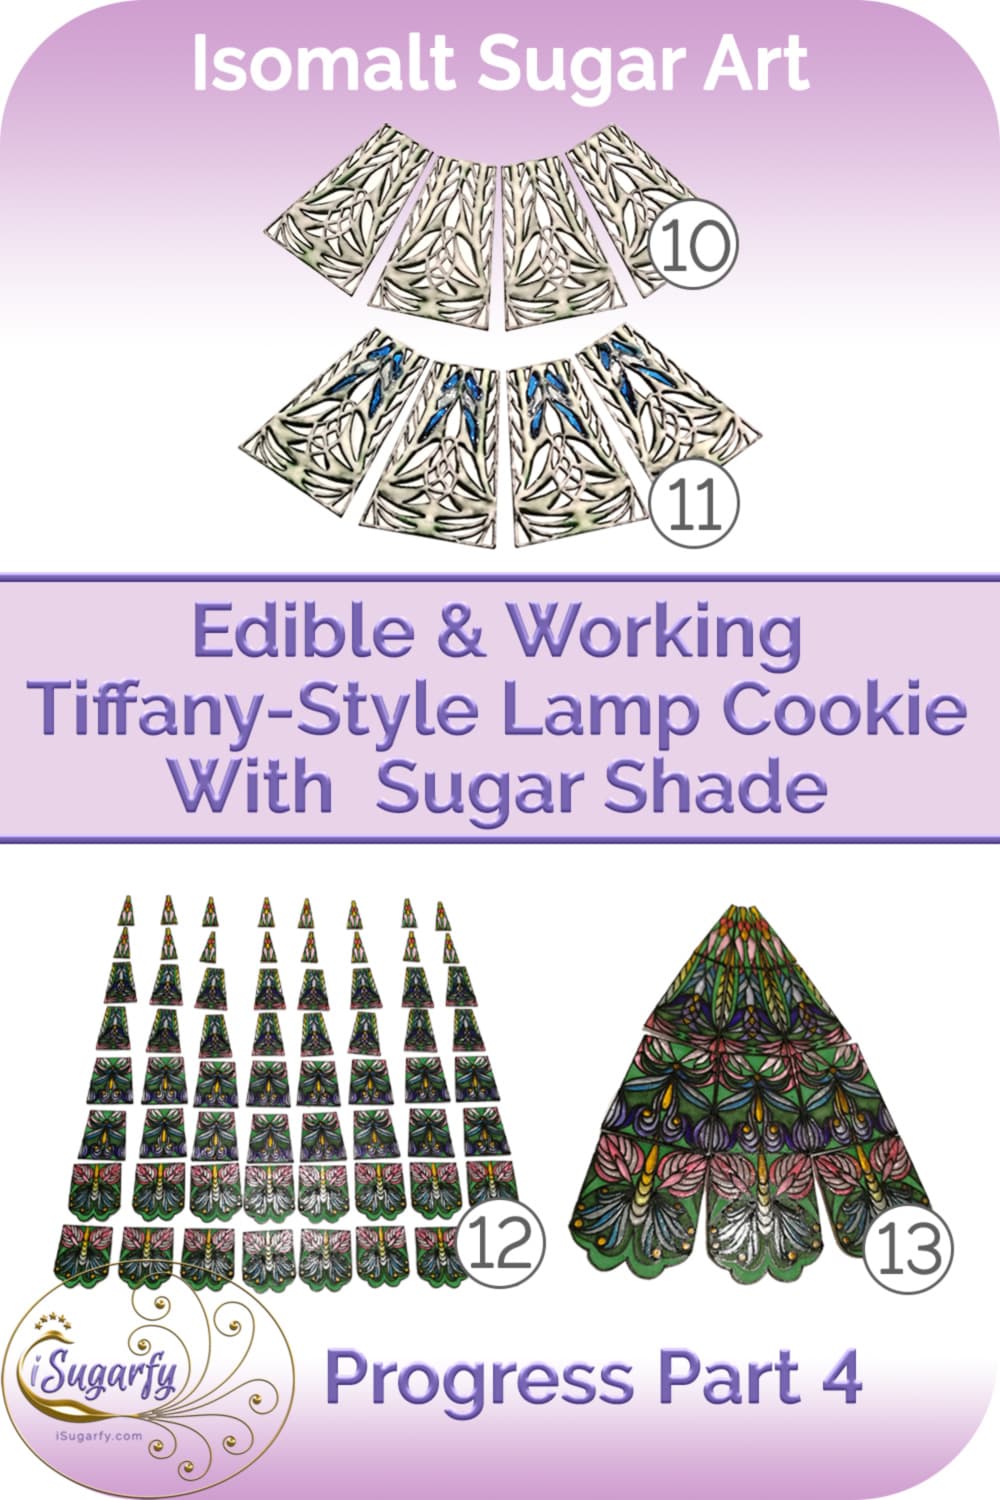
- Here you can see some of the royal icing openings filled in with isomalt.
- All 64 tiles done! No, please don't ask me how long it took me, LOL!
- Just checking again how they would look like as a finished lamp, and of course, whether they would actually fit together, or whether I messed up somewhere, piping crooked lines or whatnot...
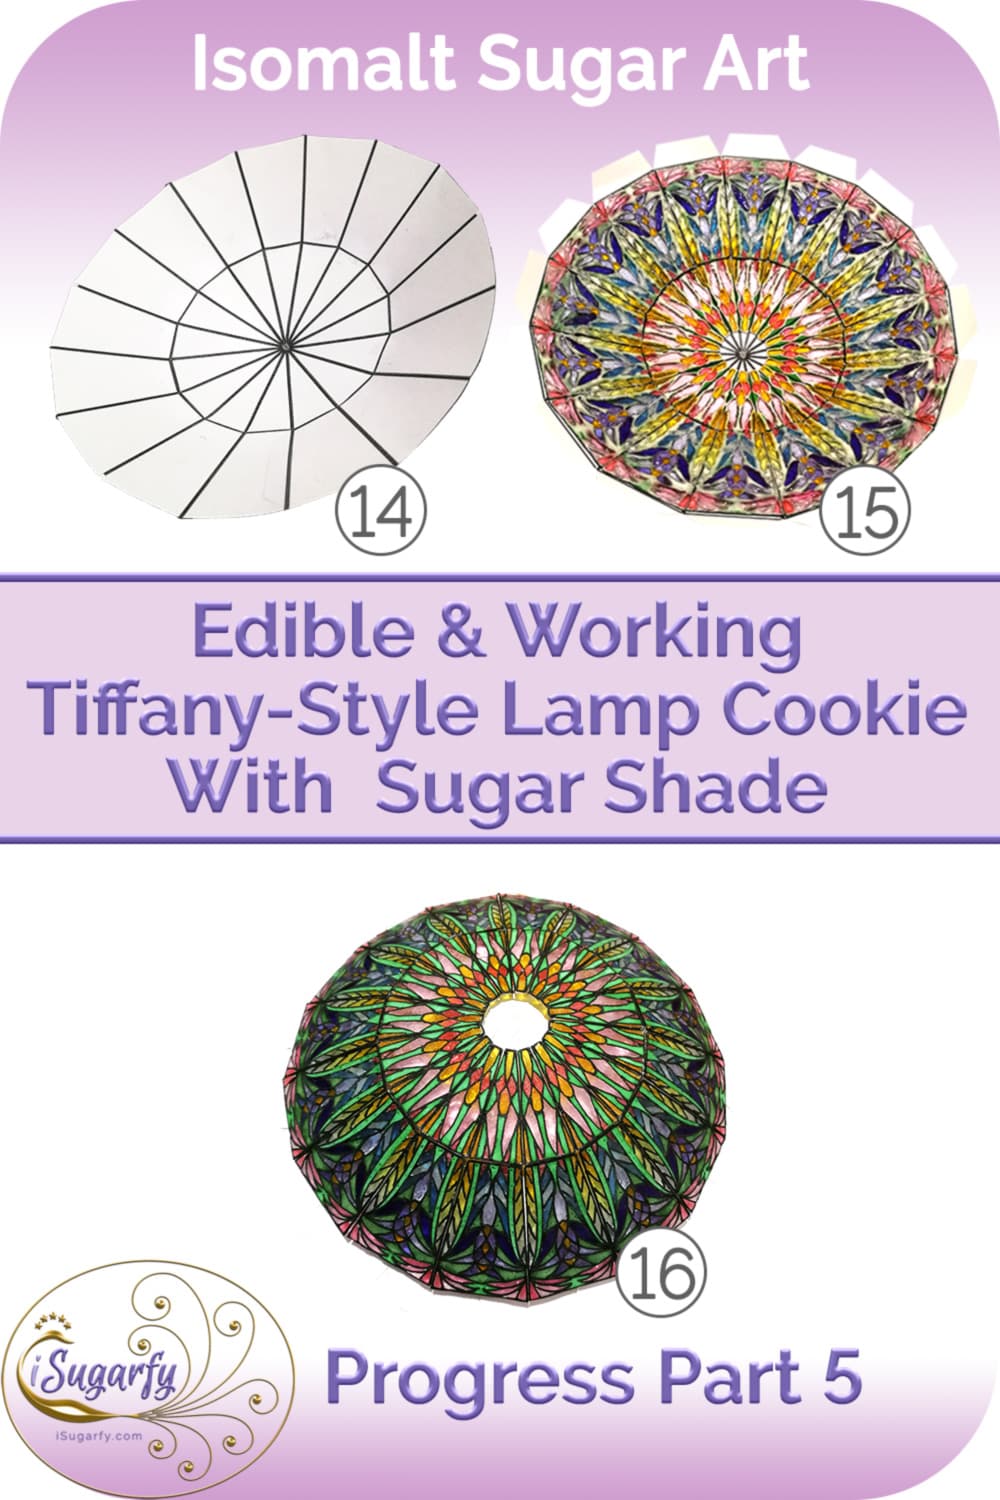
- The tiles were finished, and I knew I'd be able to do them. But what came next, was the really challenging part: fitting them all together into a lampshade. For strength and appearance reasons, I had to "glue" them together with isomalt, not royal icing. If isomalt would stay flexible for some time, it would have been easier. But with it cooling down and hardening almost immediately, I had to bring the tiles into the final position before "gluing" them together. I did this with the help of another paper form. This time it had to be just slightly larger than the first mock-up to account for the thickness of the tiles. I think I made it about five times until I had exactly the right size where the tiles would just about touch the end of the line. Ah, and the paper flaps to glue the next paper row onto... I think there was a difference whether I added them to the already made form or to the new paper row, but can't remember right now. There was so much to consider, so many trials and errors... But do I love a good challenge, LOL!
- And voilà! All the tiles of the first two rows fit together amazingly well :). What I hadn't anticipated at this point, is that the whole construction was still quite fragile, and I should have reinforced each row of tiles with a layer of isomalt after each was glued together. Because... yes, I managed to knock a hole into the lampshade, not just once, but twice! Once the scribe tool fell into the shade, and the second time I got burnt and yanked my hand away in pain, and of course against the shade! So I had to break out the broken tiles and replace them with new ones. Luckily I had thought of making a few extra tiles of each size :).
- The outside of the first two rows all "glued" together :).
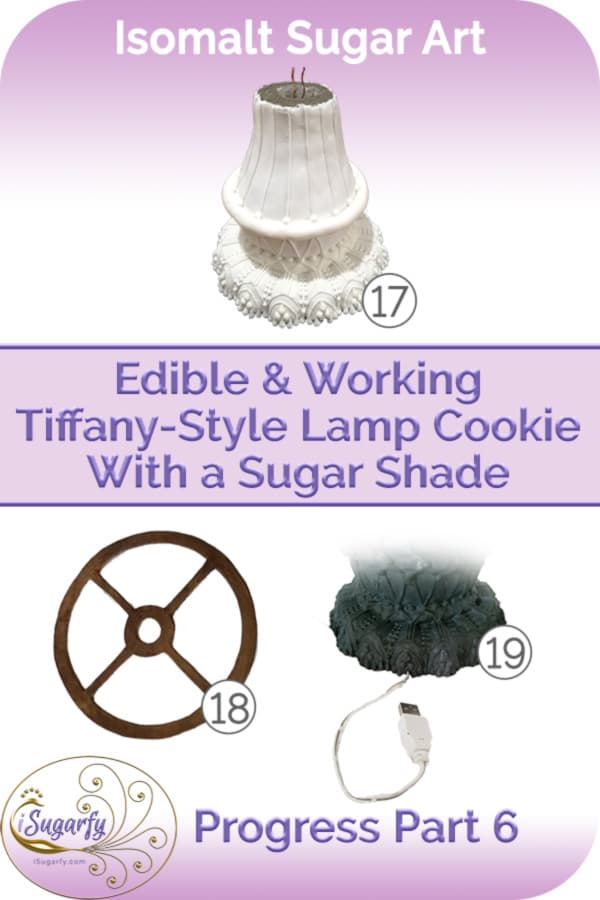
- Here we have the cookie base. Some of the dimensions (like the middle ring) I modeled with very stiff royal icing, then dipped the whole thing into flood consistency icing and overpiped it. But yes, not a very intricate work... as I said, I was under time pressure, and just had to have a cookie to place the shade onto :).
- This is the large lampshade support. It was placed directly onto the cookie base, to hold the shade. I placed a much smaller one at the top of the shade as well, so I had something to hold onto when I moved the thing, as I was not in the mood for another repair session.
- The LED lights I pulled through the cookie base was a strip to light up a laptop keyboard, and thus had a USB plug. I first had tried a pinkish color for the base to match with the pink in the shade, but that looked awful, so just painted it a black, well, it turned out a dark gray with blue shading, LOL!
Want to keep me motivated to share sugar art tutorials and demos with you?
Yes?

Return HOME from the Tiffany Lamp page
Return to the Gallery
Return to the Isomalt Portfolio page

Don't worry — your email address is secure with me. I promise to use it only to send you my iSugarfy News.
